
This decade old electric cooler box gave up the ghost around 2 years ago, with the indoor outlet plug no longer working. The independent 12v input was still operational, so I kept it with the intention of eventually fixing it…
And two years later, this is the eventually 😅. The integrated 10v ~45w unit had failed short on the primary side, with a burnt out Y-capacitor and some fried zeners. I started removing bits from the board to try and find all the broken components… but ended up letting out the magic smoke in the process, oops!
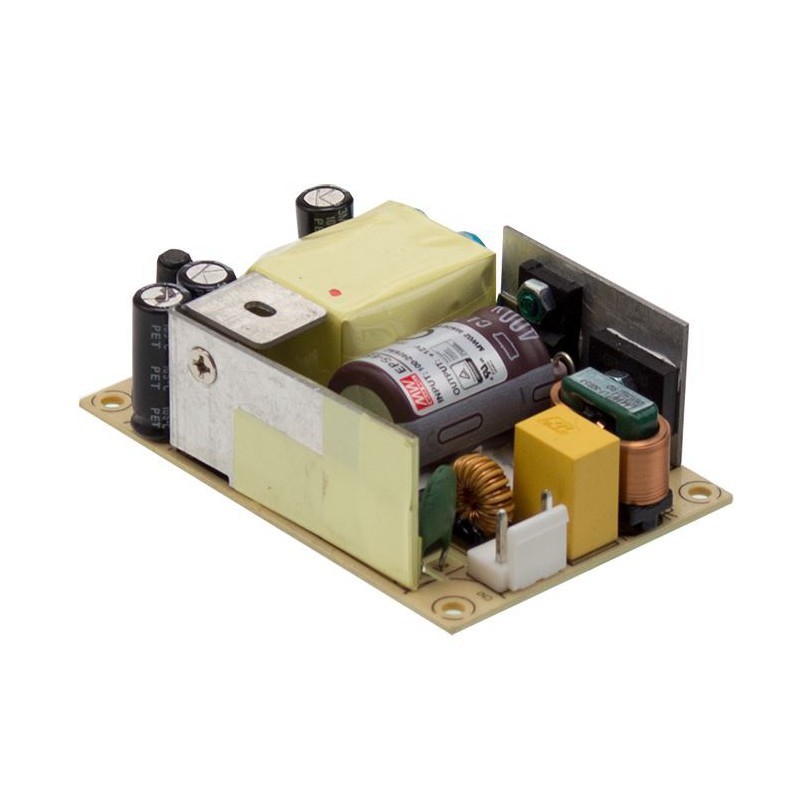
I set out looking for a new power supply, and came across a 12v 45w unit from Meanwell. It was actually smaller than the cooler’s original power supply too, meaning more internal space to use later 🤫
Spoiler
After searching for a distributor that was actually willing to ship it to a home address, I ordered, and boom:
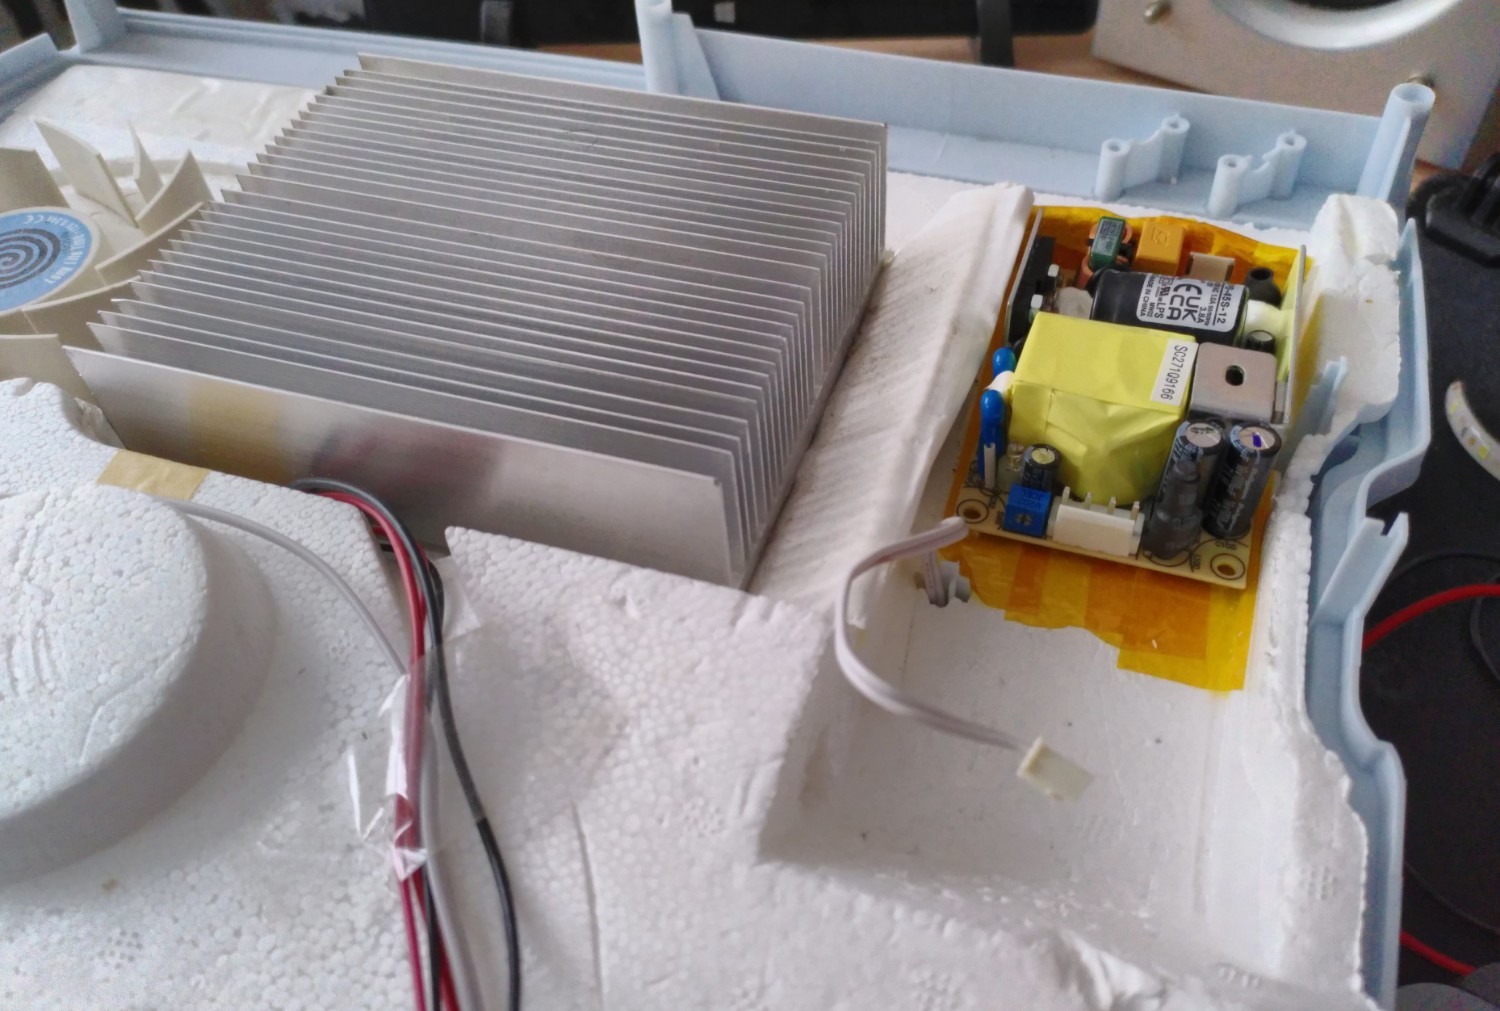
It’s so tiny compared to the original.
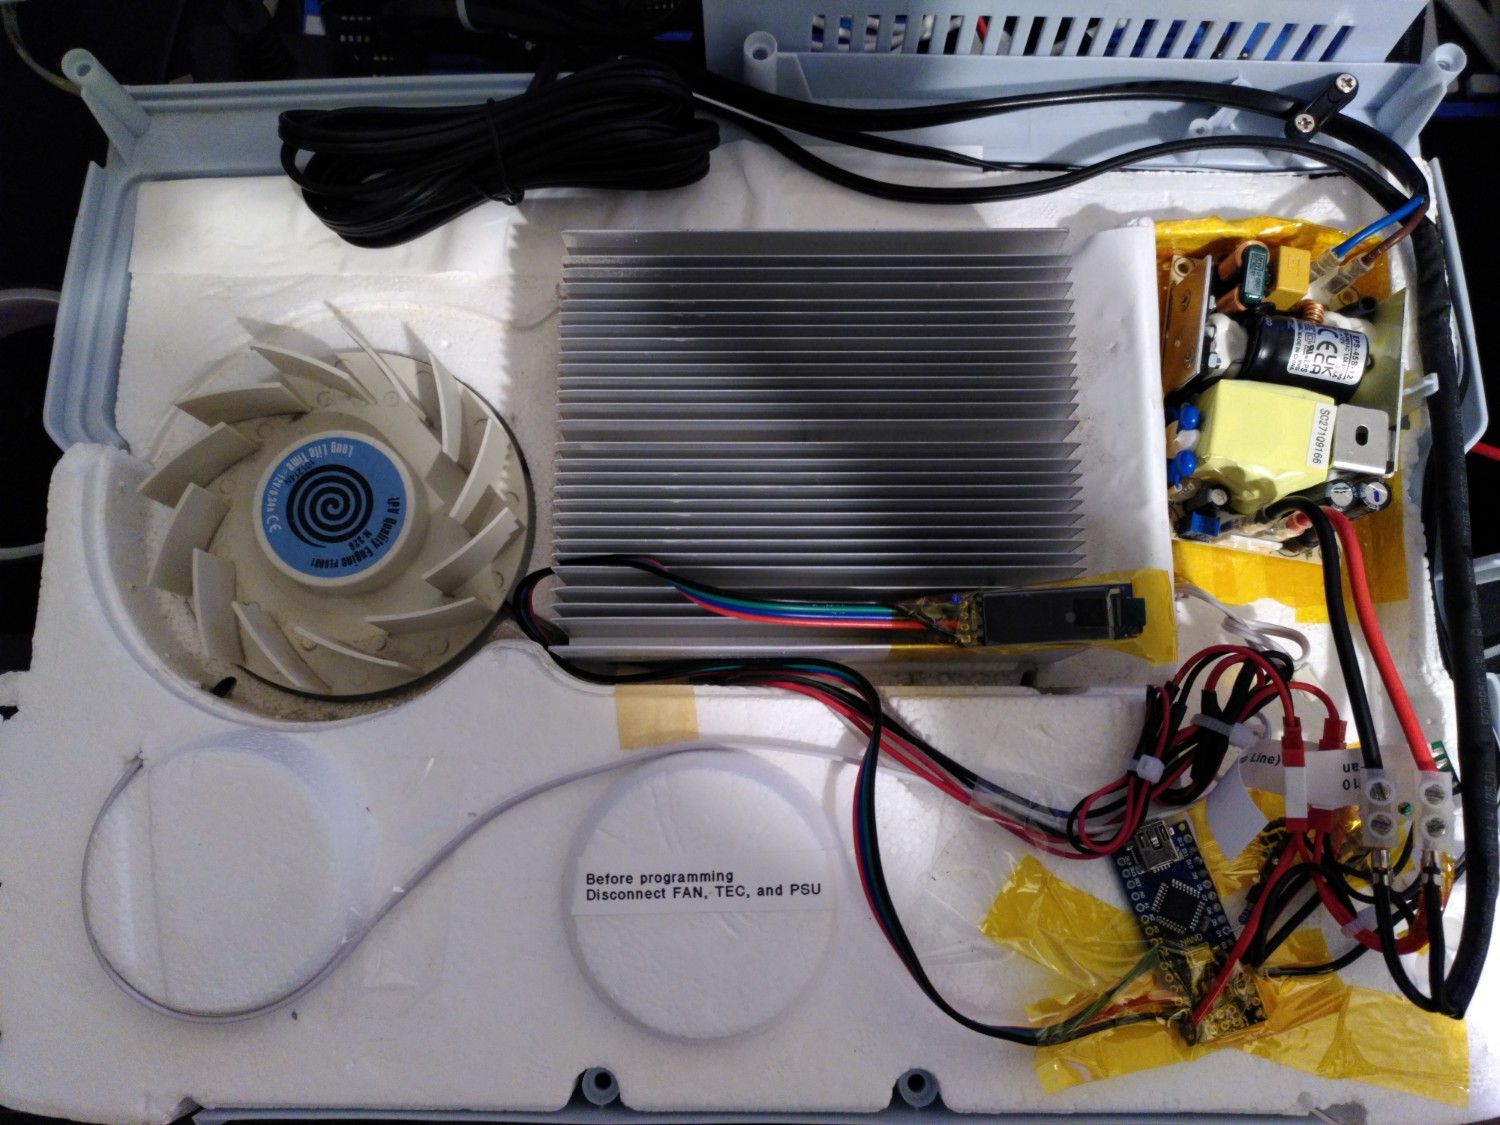
Next I installed an Arduino Nano to control the TEC/peltier module & fan via a cheap LED repeater. I was hoping to reuse the internal temperature sensors, but left them disconnected for now
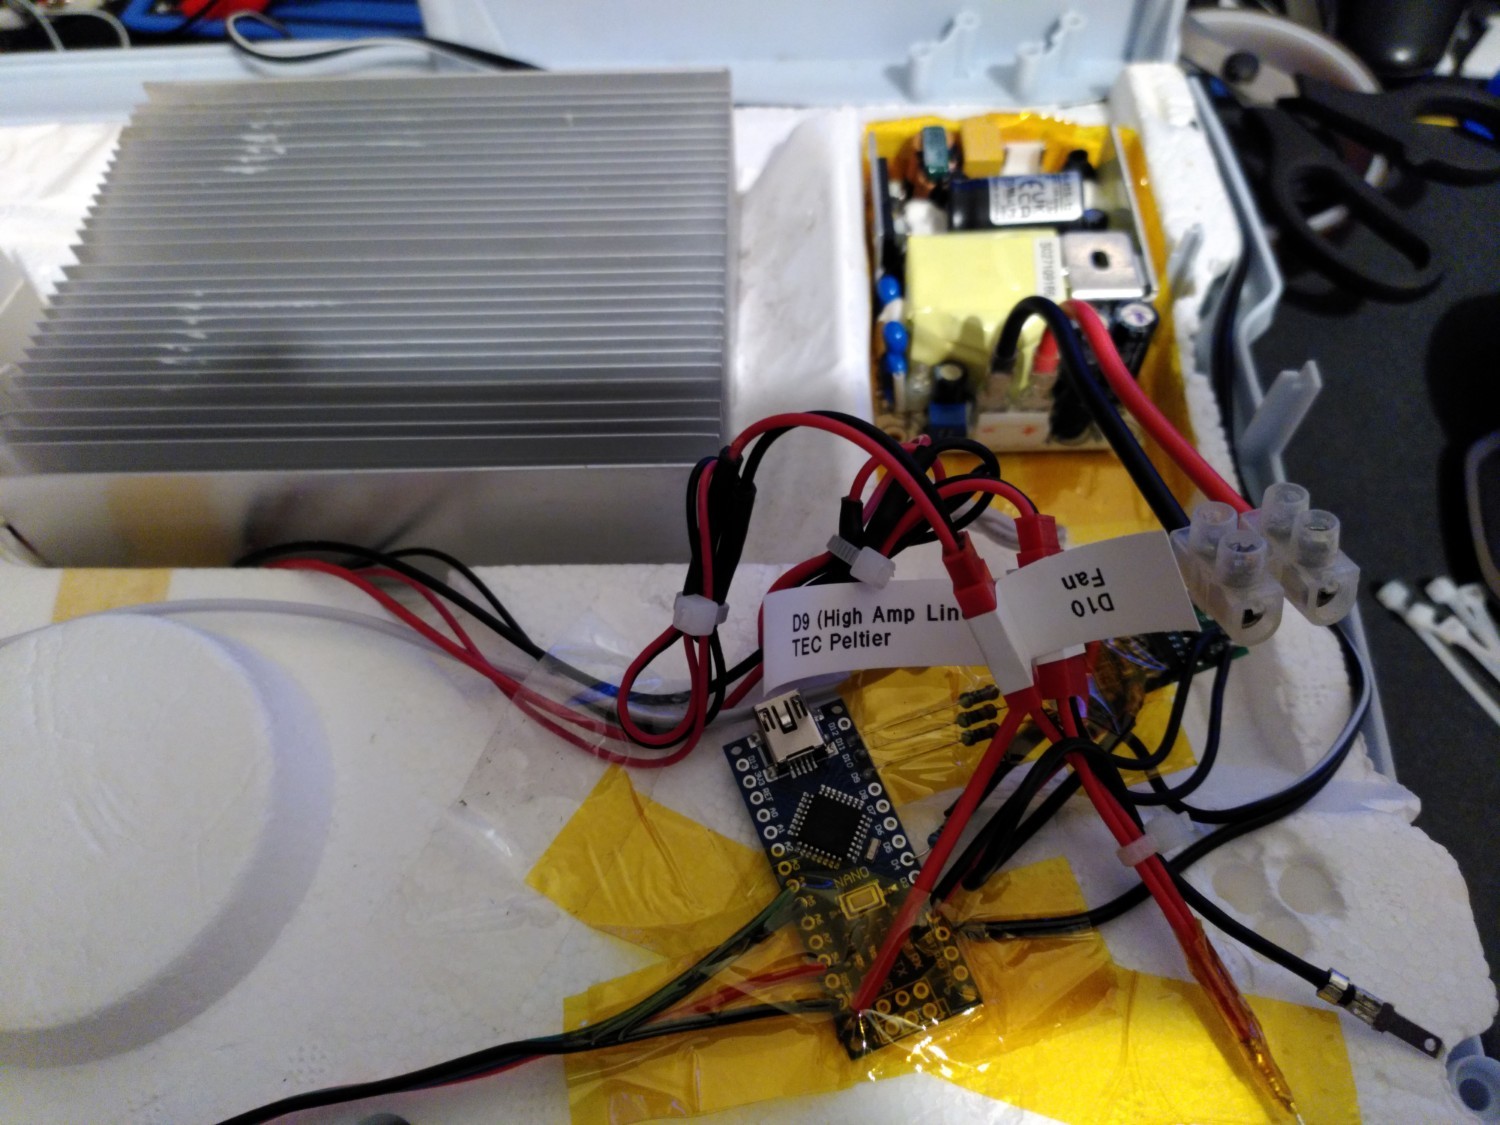
After hours writing the arduino code, I finally got it into a usable state. There were issues with brownouts rebooting the Arduino, however with the Meanwell supply in-circuit those mysteriously stopped.
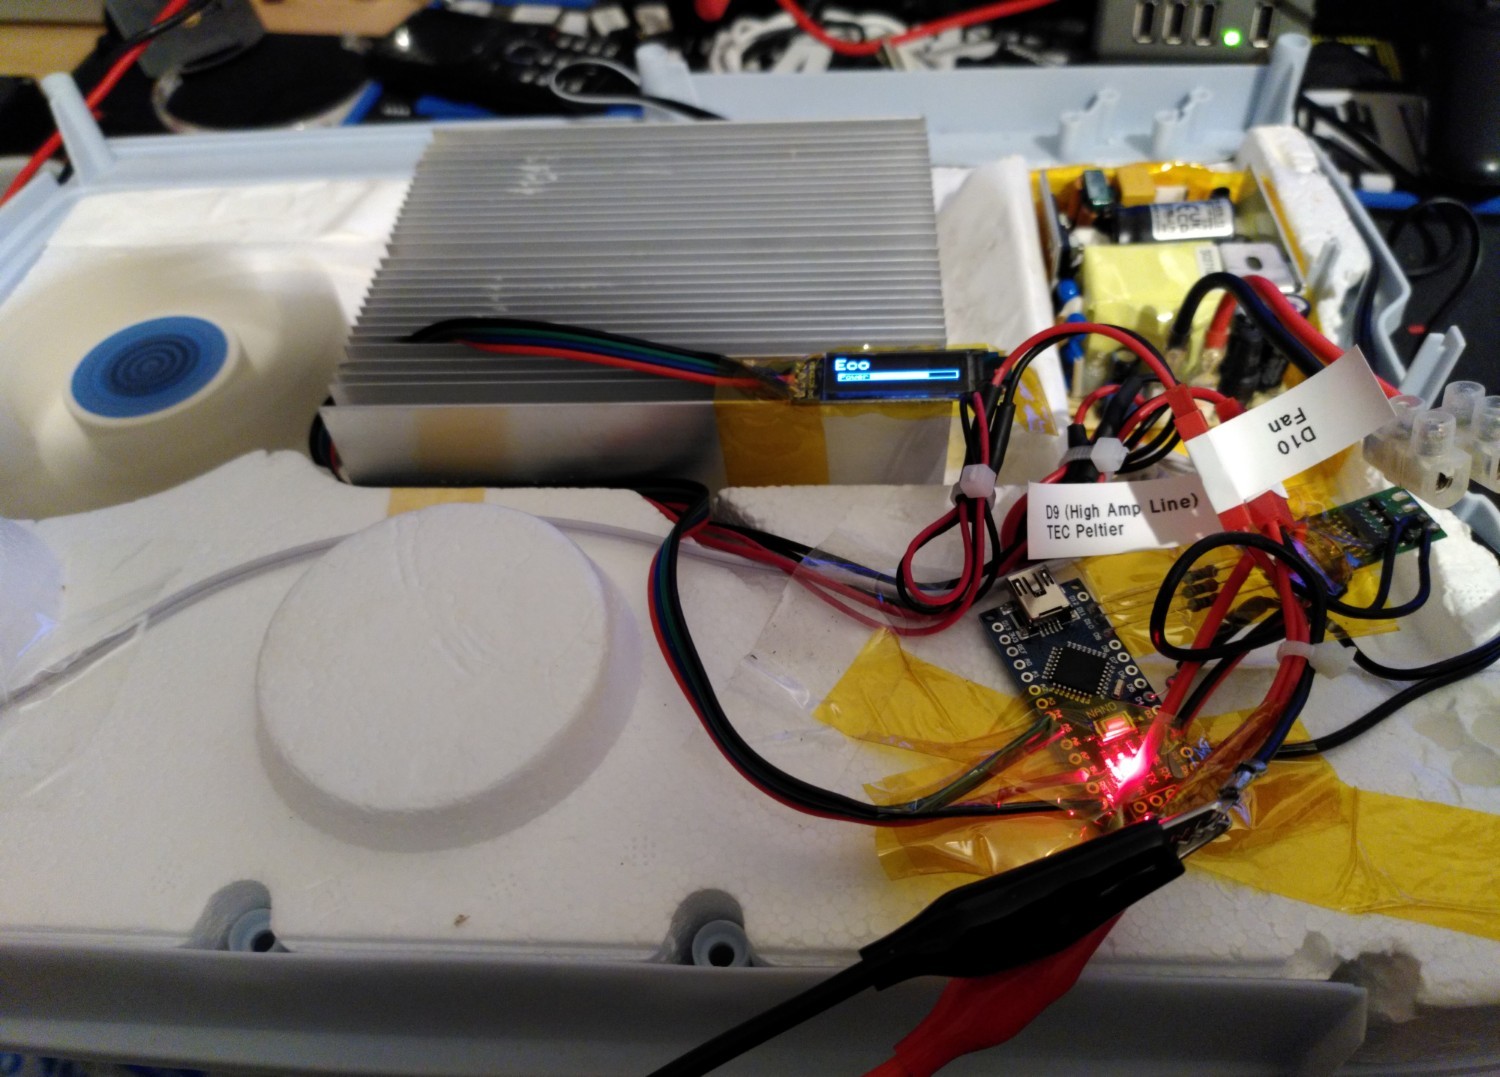
There are 3 power modes now for the module: 30W, 40W and 50W - with the first two using PWM, and the last one giving it all the beans. I wanted to PWM control the fan too, but decided against it since it sounded absolutely terrible at whatever PWM frequency the Nano is using.
It powers on to 40W by default, which is under the 45W max rating of the PSU.
Everything looks good so far running from the bench supply:
Now all that was left was to connect the internal supply, and the 12v vehicle input. I was actually supposed to use JST connectors for the Meanwell psu, but didn’t have anything on hand - so improvised with crimping spade terminals and friction fitting those on
And the moment of truth. Up until this point I hadn’t actually checked if the replacement psu was working or not
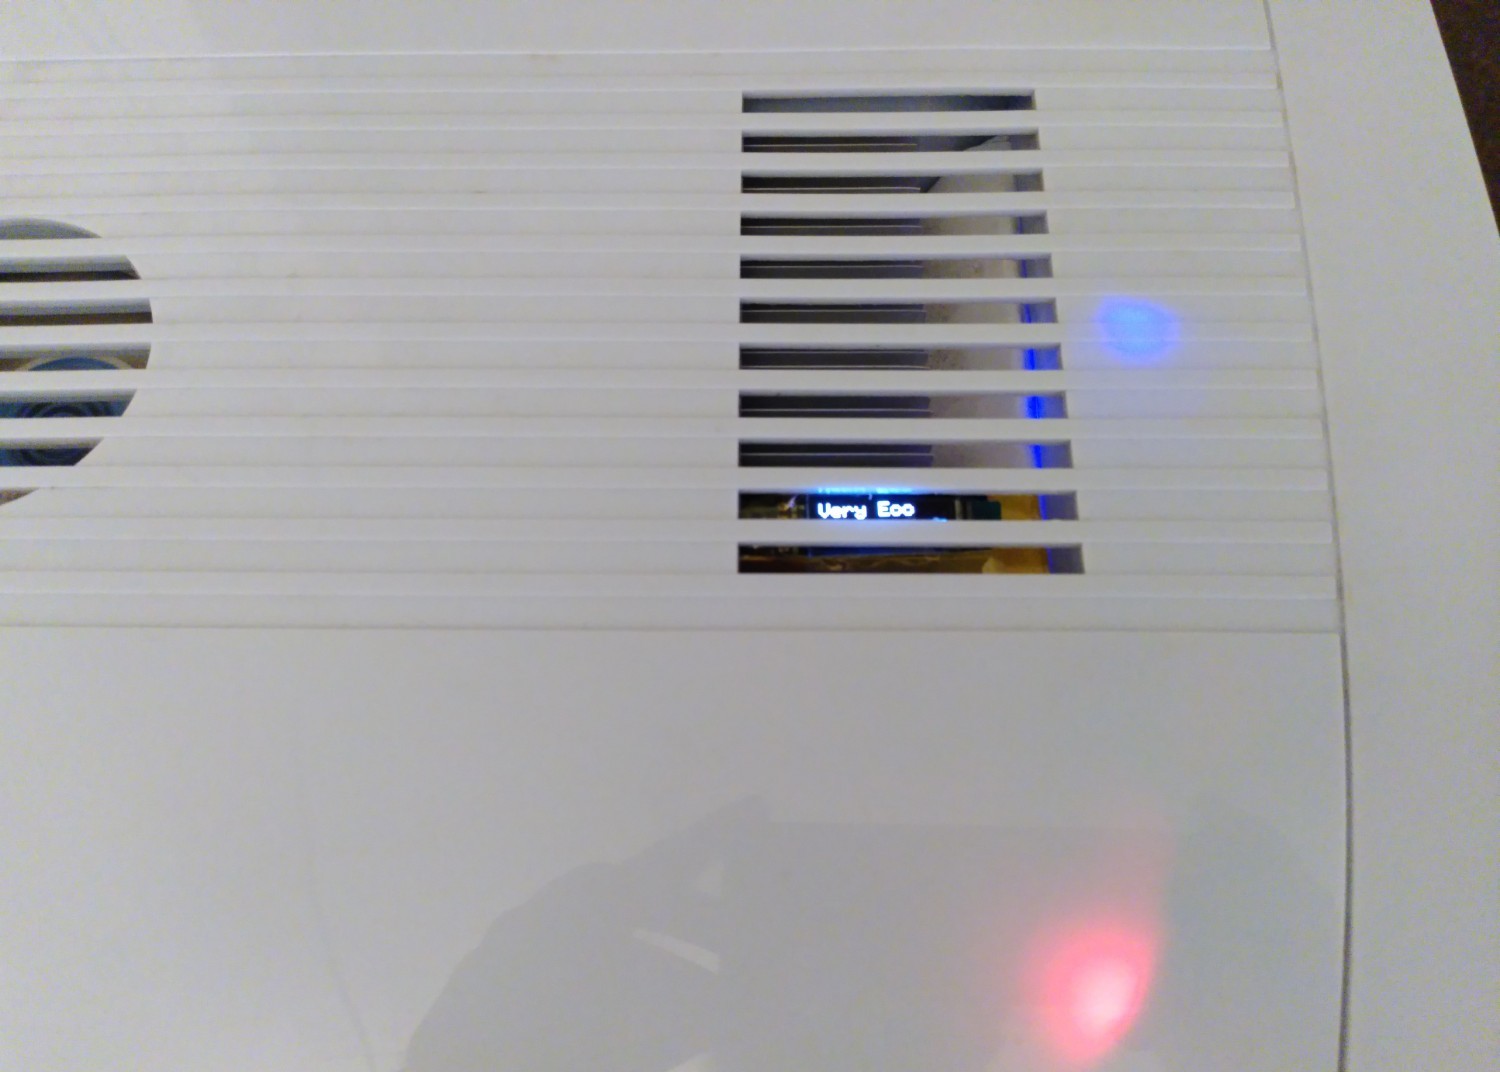
Looking good! I don’t really like the LEDs though, so might do something about those in future.
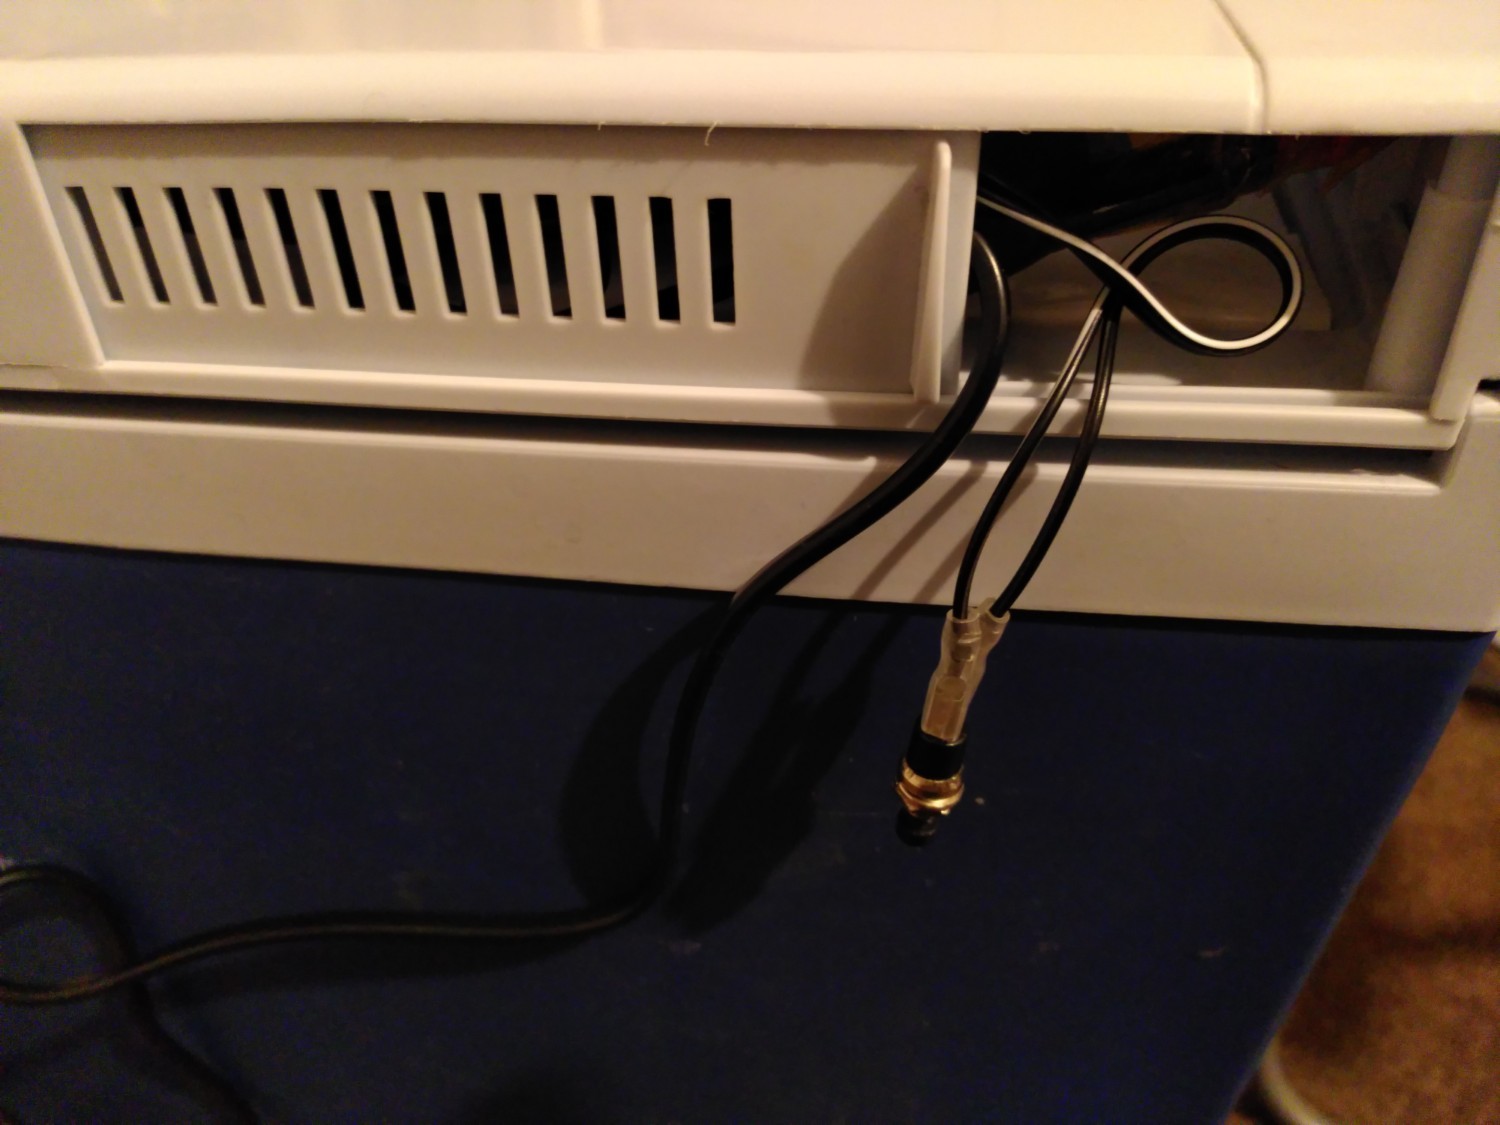
You might be wondering how exactly I change the power settings… well since the manufacturer decided it was good enough to shove all the cables in the back, I did the same with a pushbutton 🤫
Glad to have the electric cooler working again though, feels nice to save large things like this from going to the landfill and extend their life a bit. Excited to hear any thoughts and feedback!
You must log in or # to comment.
That’s really neat. You’ve already got an Arduino in there, add an esp32 and connect it to Homeassistant!
I agree it’s nice to fix something that big and save the garbage that it could have produced.
Well done 🥶
@ tunnel rush That is quite impressive.
The Nano’s PWM frequency can be adjusted from the default 490 Hz, with a maximum of 4MHz, at which point the resolution is 4. At a resolution of 256 (which is more than enough for this application), the maximum PWM frequency is 62.5 kHz, which is far outside our hearing range, though can still barely be heard by some younger cats
Neat, thanks for the info!
I did some further reading into this and found out the PWM pins I’m using are controlled by their own separate timer (instead of the one used by the Arduino core for millis(), micros() etc) so definitely will be trying this out the next time I rip the cooler open 😁
